
How to Install Low Voltage Landscape Lighting
Have you ever wished your garden could look magical at night? With low voltage landscape lighting, you can make that dream come true. It’s easier than you might think to add a sparkle to your yard after the sun goes down.
This guide will show you how to bring your garden to life with beautiful lights. We’ll walk you through each step of how to install low voltage landscape lighting, from planning your project to enjoying your new nighttime wonderland. You’ll learn how to pick the right lights, where to put them, and how to set them up safely.
Whether you want to highlight your favorite plants, light up a pathway, or create a cozy spot for evening chats, we’ve got you covered.
Plan Your Low Voltage Landscape Lighting Project

Before you start installing landscape lighting, it’s essential to have a well-thought-out plan. This will help you avoid common pitfalls and ensure that your lighting system meets your needs.
Assessing Your Outdoor Space
Take a walk around your garden, yard, or pathway to determine the areas that need outdoor lighting for maximum impact.
Consider the purpose of the lighting: Is it for security, highlighting landscape features, or creating a cozy atmosphere?
Deciding on Light Fixture Types and Placement
Choose the types of light fixtures you need, such as path lights, flood lights, or spotlights. Each serves a different purpose.
Sketch a layout showing where each fixture will be placed. Be mindful of existing features like plants, water features, and pathways.
Creating a Detailed Lighting Plan
Draft a detailed plan with measurements. Note the locations of your electrical outlets and the paths for running cables.
Ensure that your plan accounts for aesthetic appeal and functional lighting needs.
Estimating Total Wattage and Selecting a Transformer
Calculate the total wattage of all the light fixtures combined. This will help you choose the right transformer.
Transformers come in various sizes, so select one that can handle the total wattage of your lighting system plus some extra capacity for future additional lights.
Gather Necessary Tools and Materials
Having the right tools and materials at hand will make the installation process smoother and more efficient.
List of Tools
- Wire strippers: For stripping the ends of the wires.
- Wire cutters: For cutting the cables to the desired lengths.
- Shovel: For digging shallow trenches to lay the cables.
- Pliers: For bending and manipulating wires.
- Screwdriver: For securing fixtures and connectors.
- Drill: For mounting the transformer and fixtures.
List of Materials
- Lower voltage landscape lighting fixtures: Path lights, flood lights, spotlights, etc.
- Low voltage electrical cable: To connect the fixtures to the transformer.
- Wire connectors: For secure connections between wires.
- Transformer: To convert standard household voltage to low voltage.
- Additional cable: In case you need to extend the reach of your system.
- Light sensors and timer: To automate the lighting system and save energy.
Prepare for the Lighting Installation

Preparation is key to a successful landscape light installation project. Ensure you have a clear plan and all necessary materials before starting the installation.
Calculating Low Voltage Wire Length
Measure the distance between the transformer and each light fixture. This will help you determine how much wire you need. Account for additional cable to add lights in the future.
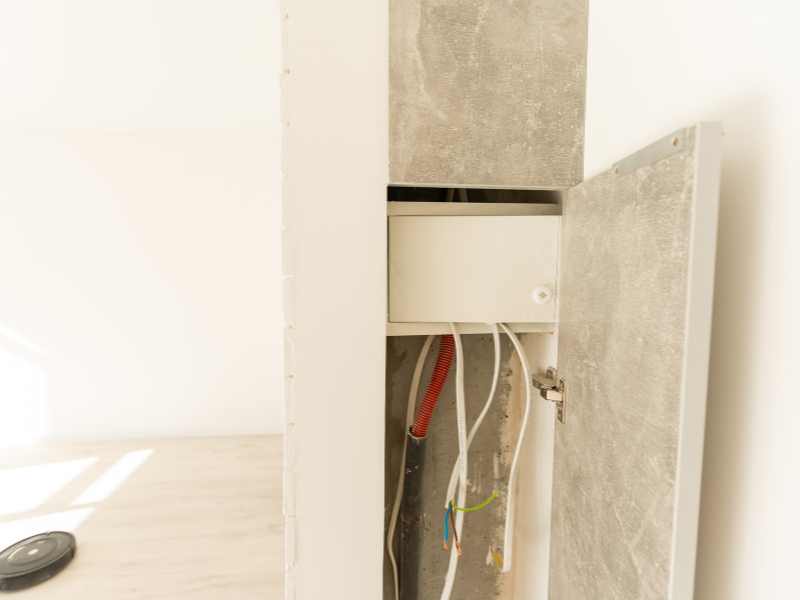
Ensuring Electrical Outlet Availability
Verify that there is a working electrical outlet near the planned location of the transformer. Consider installing a new outlet if necessary.
Digging Shallow Trenches
Use a shovel to dig shallow trenches along the planned cable routes. The trenches should be deep enough to bury the cables safely while keeping them protected from damage. Avoid areas with heavy foot traffic or potential interference with garden tools.
Planning for Voltage Drop
Voltage drop occurs when the voltage decreases as it travels along the cable. This can affect the brightness of your lights. To minimize voltage drop, keep cable runs as short as possible and use thicker gauge wire for longer distances.
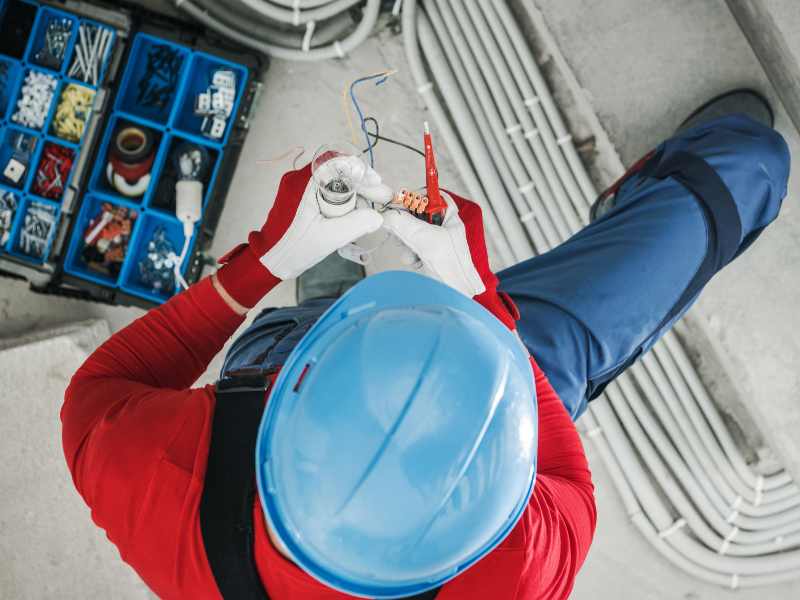
Install the Transformer
The transformer is the heart of your low voltage lighting system. Proper installation ensures the system operates efficiently and safely.
Choosing a Location for the Transformer
Select a location that is easily accessible and close to an electrical outlet. The transformer should be mounted above ground level to avoid water damage.
Ensure the location is protected from direct exposure to the elements.
Mounting the Transformer
Use a drill and appropriate screws to mount the transformer securely to a wall or post. Follow the manufacturer’s instructions for mounting.
Make sure the transformer is mounted directly at a height that allows for easy access to its controls and connections.
Connecting the Transformer to Power
Connect the transformer to an electrical outlet, ensuring you use a ground-fault circuit interrupter (GFCI) outlet for enhanced safety.
Turn on the transformer and test its power output to ensure it is working properly before connecting any light fixtures.
ALSO READ: How to Design and Install Outdoor Lighting
Laying the Low Voltage Cable
Proper cable installation is crucial for the longevity and performance of your landscape lighting system.
Laying Out the Cable
Lay out the low voltage cable along the planned routes, keeping unburied wire initially to allow for adjustments.
Avoid sharp bends and ensure the cable is laid out in smooth, gradual curves.
Connecting the Cable to the Transformer
Strip the ends of the cable using wire strippers and connect them to the appropriate terminals on the transformer. Follow the manufacturer’s instructions for secure connections.
Ensure the connections are tight and secure to prevent voltage drop and bad connections.
Running Cable Through Trenches
Run the cable through the trenches, making sure it stays flat and is not twisted or kinked.
Leave some slack at each fixture location to allow for adjustments and secure connections.
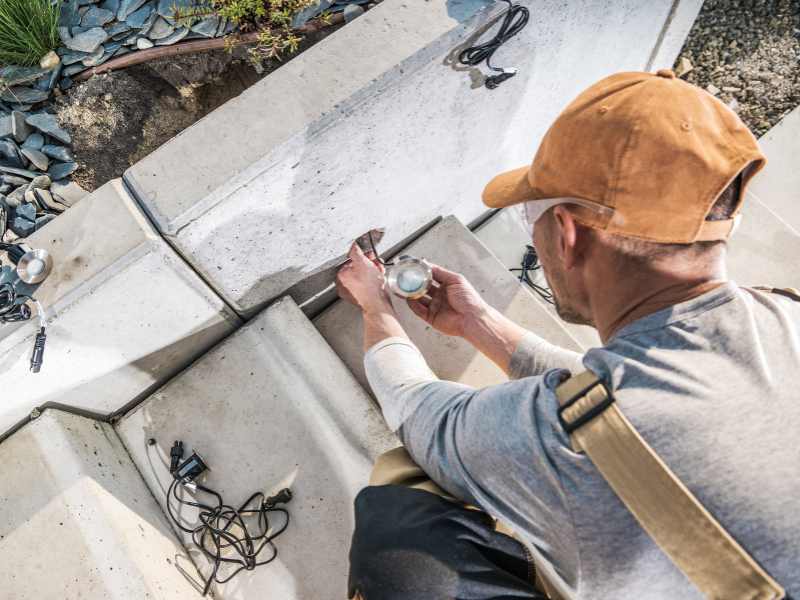
Connect the Light Fixtures

Connecting the light fixtures to the low voltage cable is a critical step that ensures your lights operate efficiently and effectively.
Attaching Light Fixtures
- Place the light fixtures at their designated locations according to your plan.
- Utilize wire strippers to carefully strip approximately 1/2 inch of insulation from the ends of the low voltage cable.
- Connect the wires from the light fixture to the low voltage cable using wire connectors. Make sure the connections are tight and secure to avoid any loose or bad connections.
Ensuring Proper Spacing
- Maintain appropriate spacing between fixtures to ensure even lighting and prevent overloading the system.
- Refer to the manufacturer’s guidelines for recommended spacing distances between fixtures.
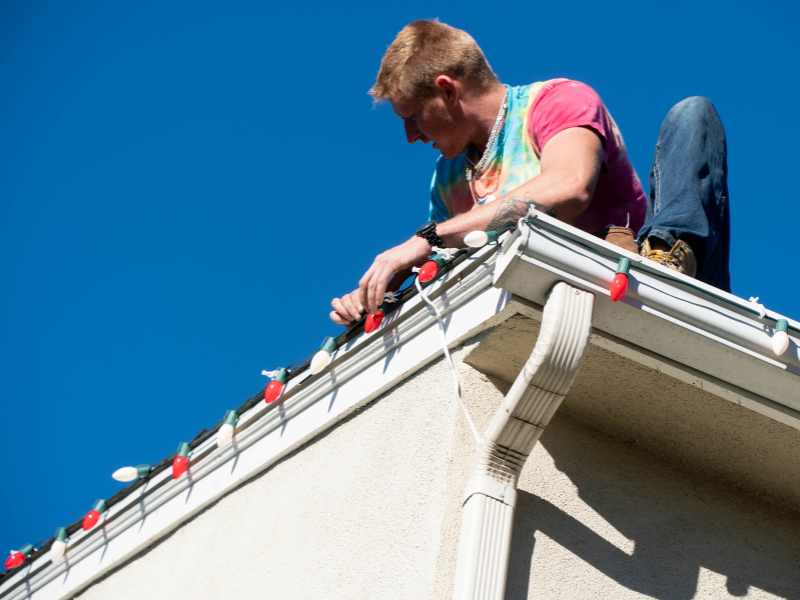
Mounting Fixtures Securely
- Securely mount each fixture into the ground or onto surfaces using stakes or screws, depending on the type of fixture.
- Adjust the angle and direction of the fixtures to ensure optimal lighting coverage for your landscape features.
Testing Each Fixture
- Once all fixtures are connected, turn on the transformer to test each fixture.
- Check that all lights are working properly and emitting the desired amount of light.
Finalizing the Installation

After connecting and testing the fixtures, the next step is to finalize the installation, ensuring the system is secure and visually appealing.
Burying the Cables
- Carefully bury the low voltage cables in the trenches you dug earlier. Cover them with soil or mulch to protect the cables from damage and keep them out of sight.
- Ensure the cables are buried at a depth that protects them from garden tools and foot traffic.
Adjusting Light Fixture Positions
- Fine-tune the position and angle of each light fixture to achieve the desired lighting effect.
- Ensure that fixtures are not obstructed by plants or other landscape features.
Setting Up the Timer and Light Sensors
- Install light sensors or timers to automate your lighting system. This ensures the lights turn on and off at the appropriate times, saving energy and enhancing convenience.
- Follow the manufacturer’s instructions to set up and program the timers or sensors.
Troubleshooting Common Issues

Sometimes, issues can arise during or after the installation. Here’s how to troubleshoot common problems to keep your lighting system functioning smoothly.
Identifying and Fixing Bad Connections
- If a light fixture is not working, check the wire connections to ensure they are tight and secure.
- Re-strip and re-connect any wires that seem loose or corroded.
Dealing with Voltage Drop
- If the lights are dim or flickering, it might be due to voltage drop. Ensure that you are using the correct gauge wire for the distance of the cable runs.
- Consider adding an additional transformer if your system is extensive and spread over long distances.
Addressing Safety Concerns
- Regularly inspect the system for any exposed or damaged wires. Repair or replace any damaged cables immediately.
- Ensure all fixtures are securely mounted and that no wires are left unburied.
ALSO READ: How to Install Landscape Lighting the Easy Way
Final Remarks
Installing low-voltage landscape lights is a rewarding project that can significantly enhance the beauty and security of your outdoor space. By following this guide and taking a systematic approach, you can create a stunning and functional lighting system that will last for years. Enjoy the enhanced aesthetics, safety, and ambiance that your new lighting system brings to your home.
Looking to transform your outdoor space with stunning and functional landscape lighting? Trust Plano Outdoor Lighting Co for all your low voltage landscape lighting needs! Our expert team provides top-notch installation services to illuminate your garden, pathways, and outdoor features beautifully.
Contact us now for a free consultation!